I work as a systems engineer at a big tech company, but back home my family is in the bakery business. In my spare time, I like to build things to help make the bakery more efficient and organized. By far, my biggest bakery project has been an order tracking system I like to call OrderMonger, but that’s a story for a different day. Today, I want to talk about the inventory labeling system I built from scratch in less than two weeks.
Background
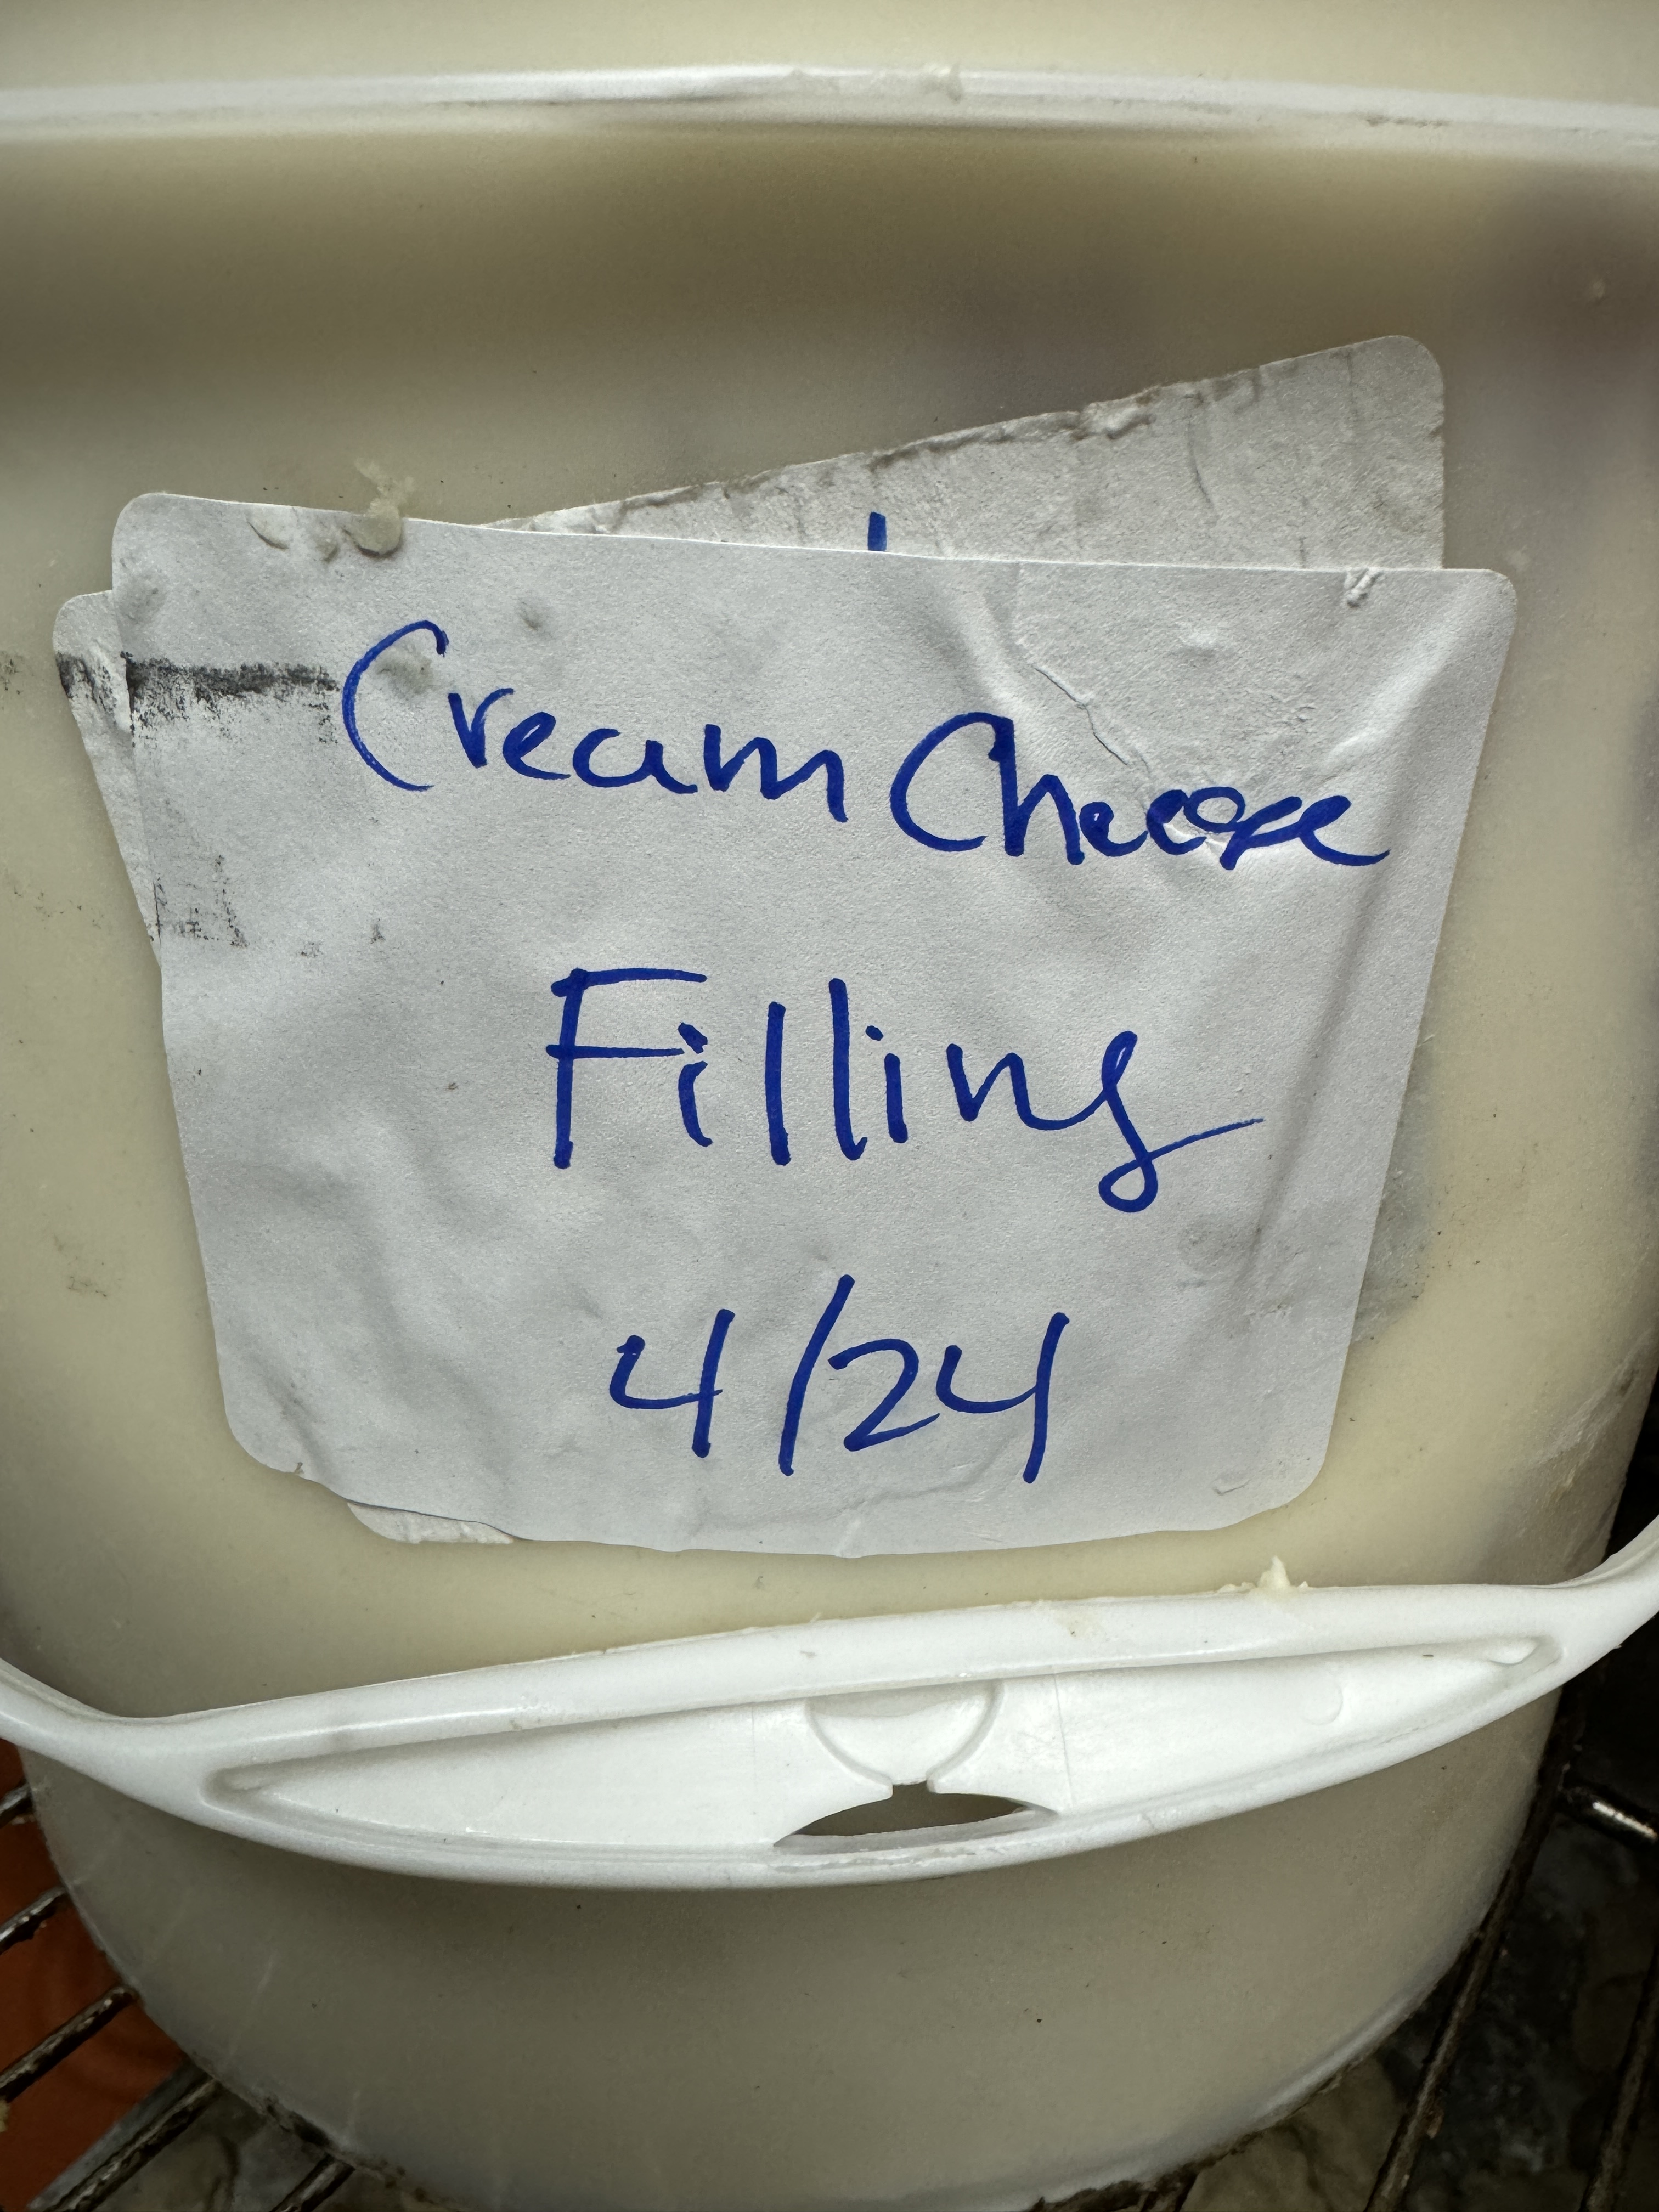
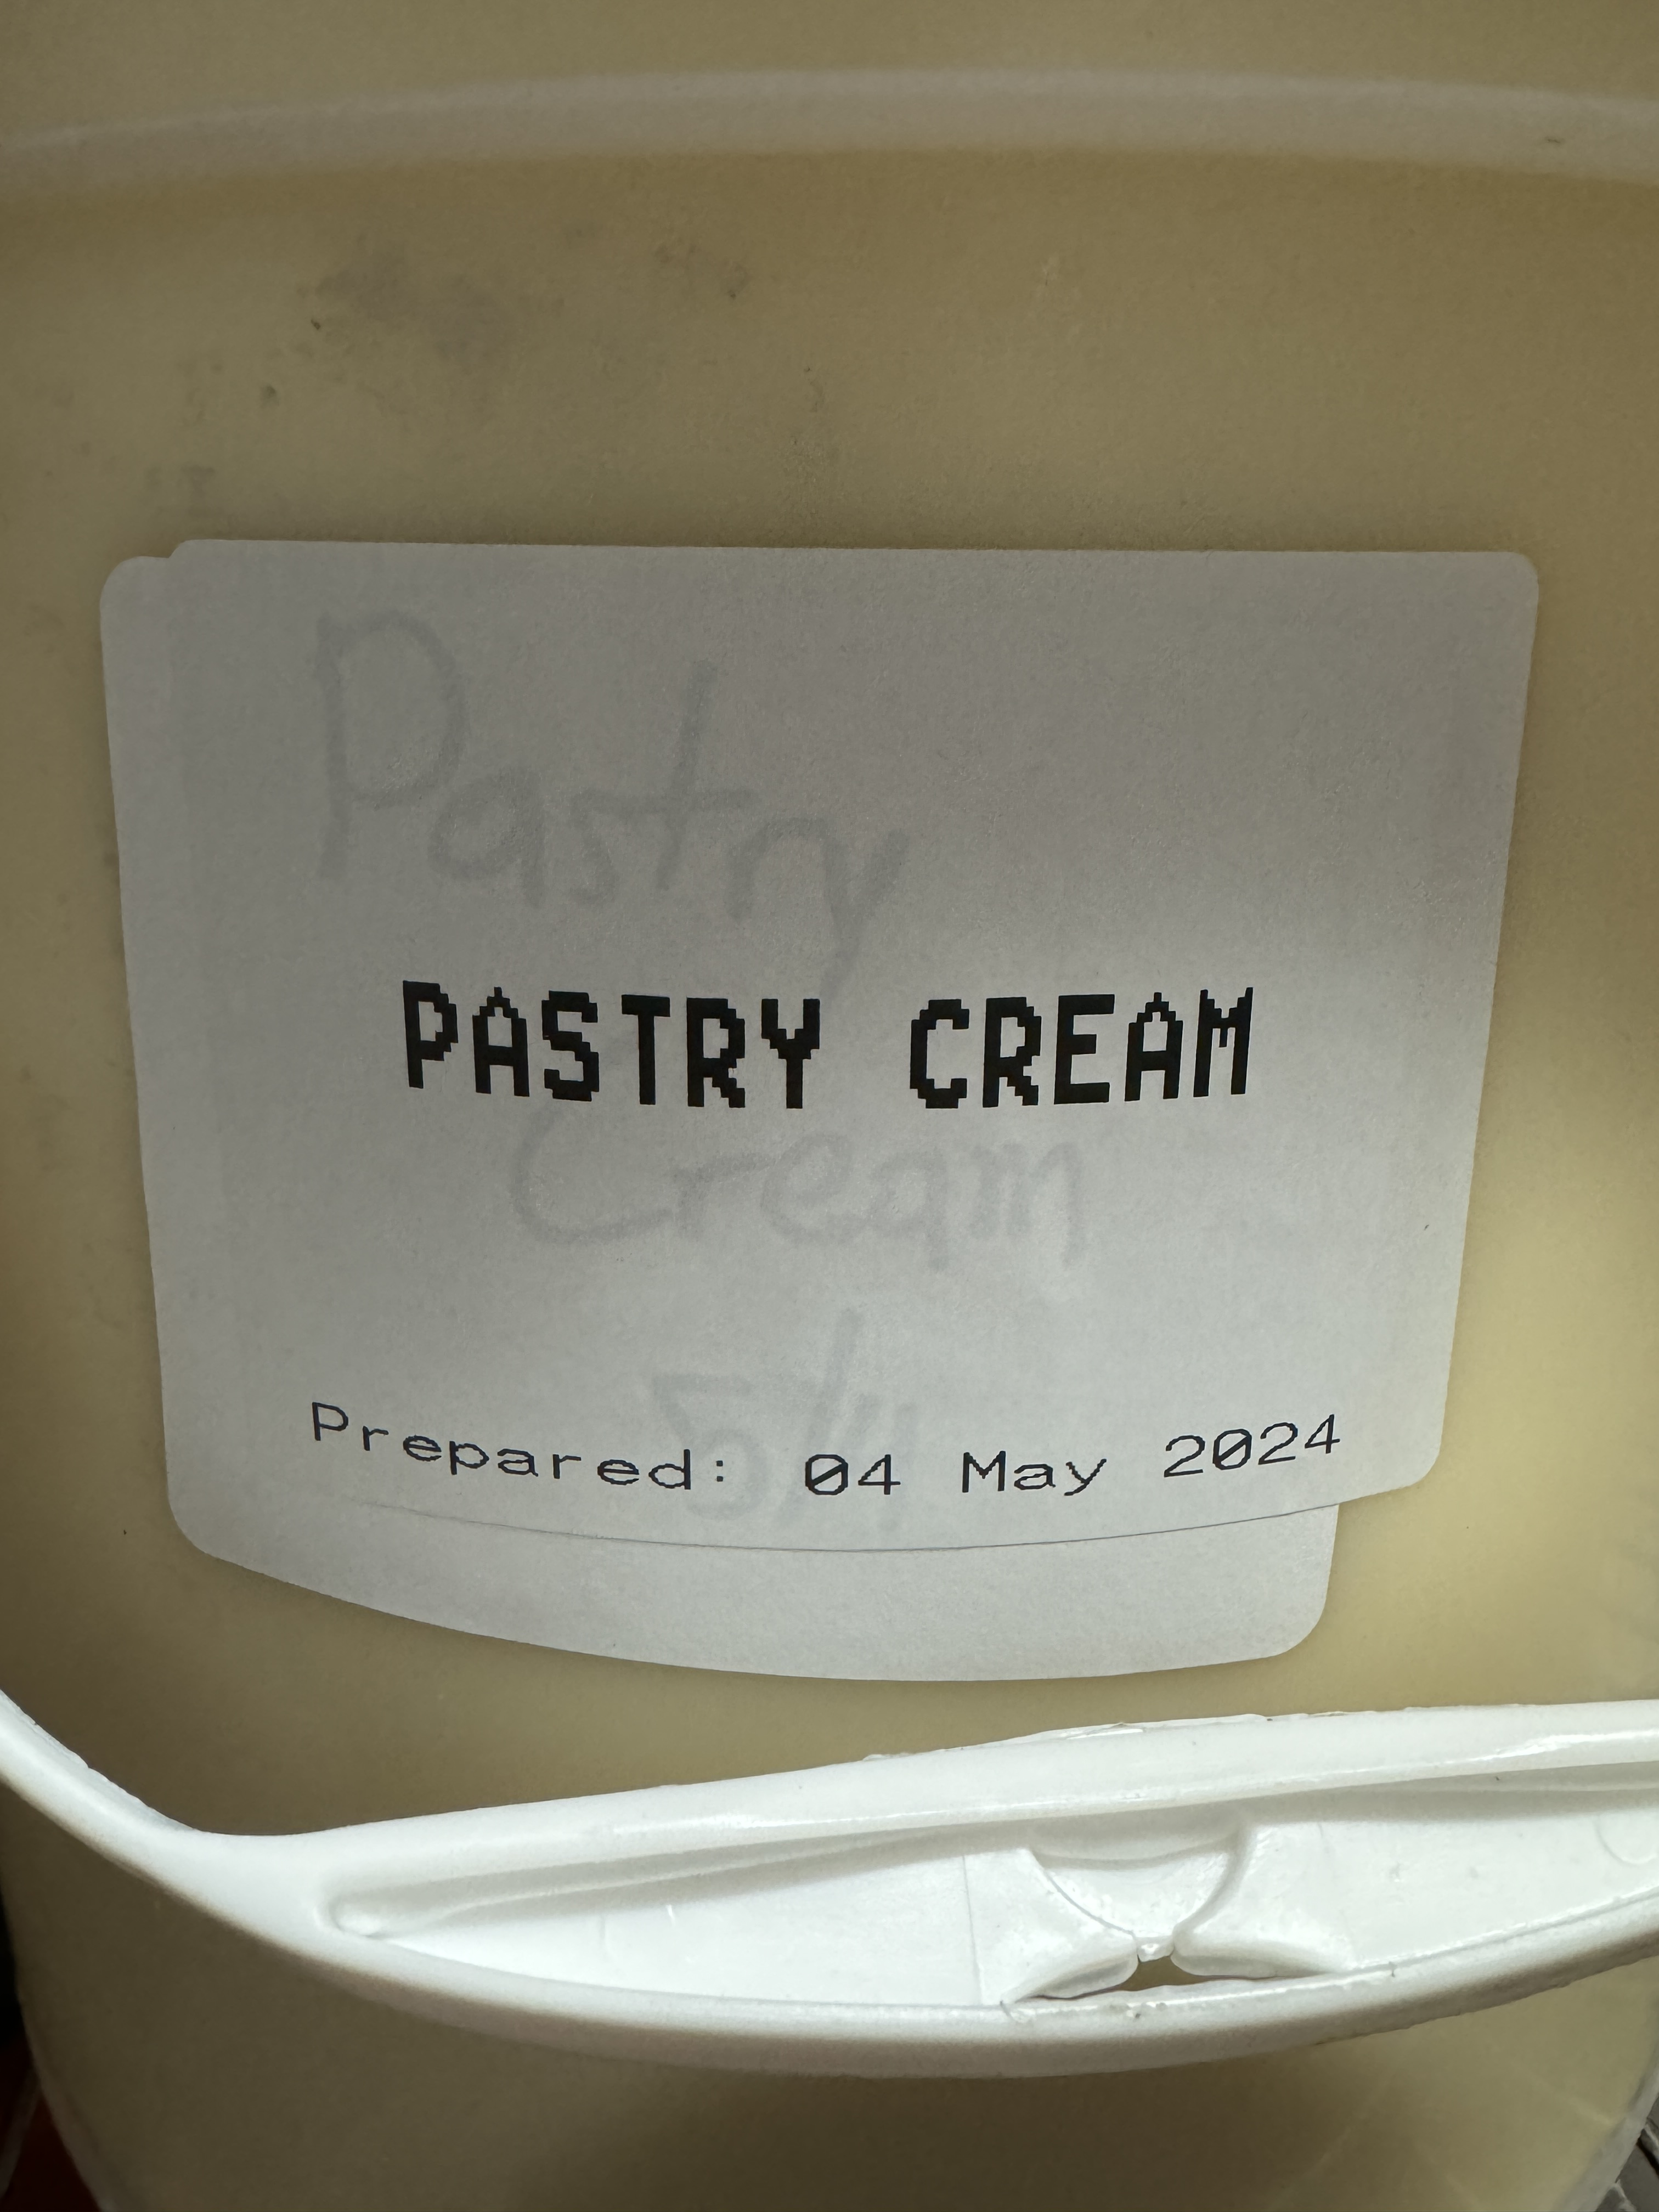
As an old-school, made-from-scratch bakery with lots of variety, we have ingredients all over the kitchen. Buckets of fillings, doughs, toppings, and batters line the walls of our walk-in cooler and kitchen area. For years, our labeling system has been a sharpie and a stack of blank labels. This works alright but does lead to inconsistencies. Plus, when you are staring at a wall of buckets, it can be difficult to read five different handwritings when trying to find what you are looking for.
There are off-the-shelf systems you can buy to solve this problem. But like any piece of software these days, you don’t actually own anything, and you are at the mercy of a subscription. On top of that, they lack customization, require internet connections, and have bulky hardware requirements.
My goal was to build something compact, easy to update, easy to use, and most importantly, not egregiously expensive. Now, why the time crunch? Well, I live five hours from the bakery, and my visits are usually spread out. I had a trip home planned in two weeks and wanted to get this done and delivered. So, two weeks it is…
Research
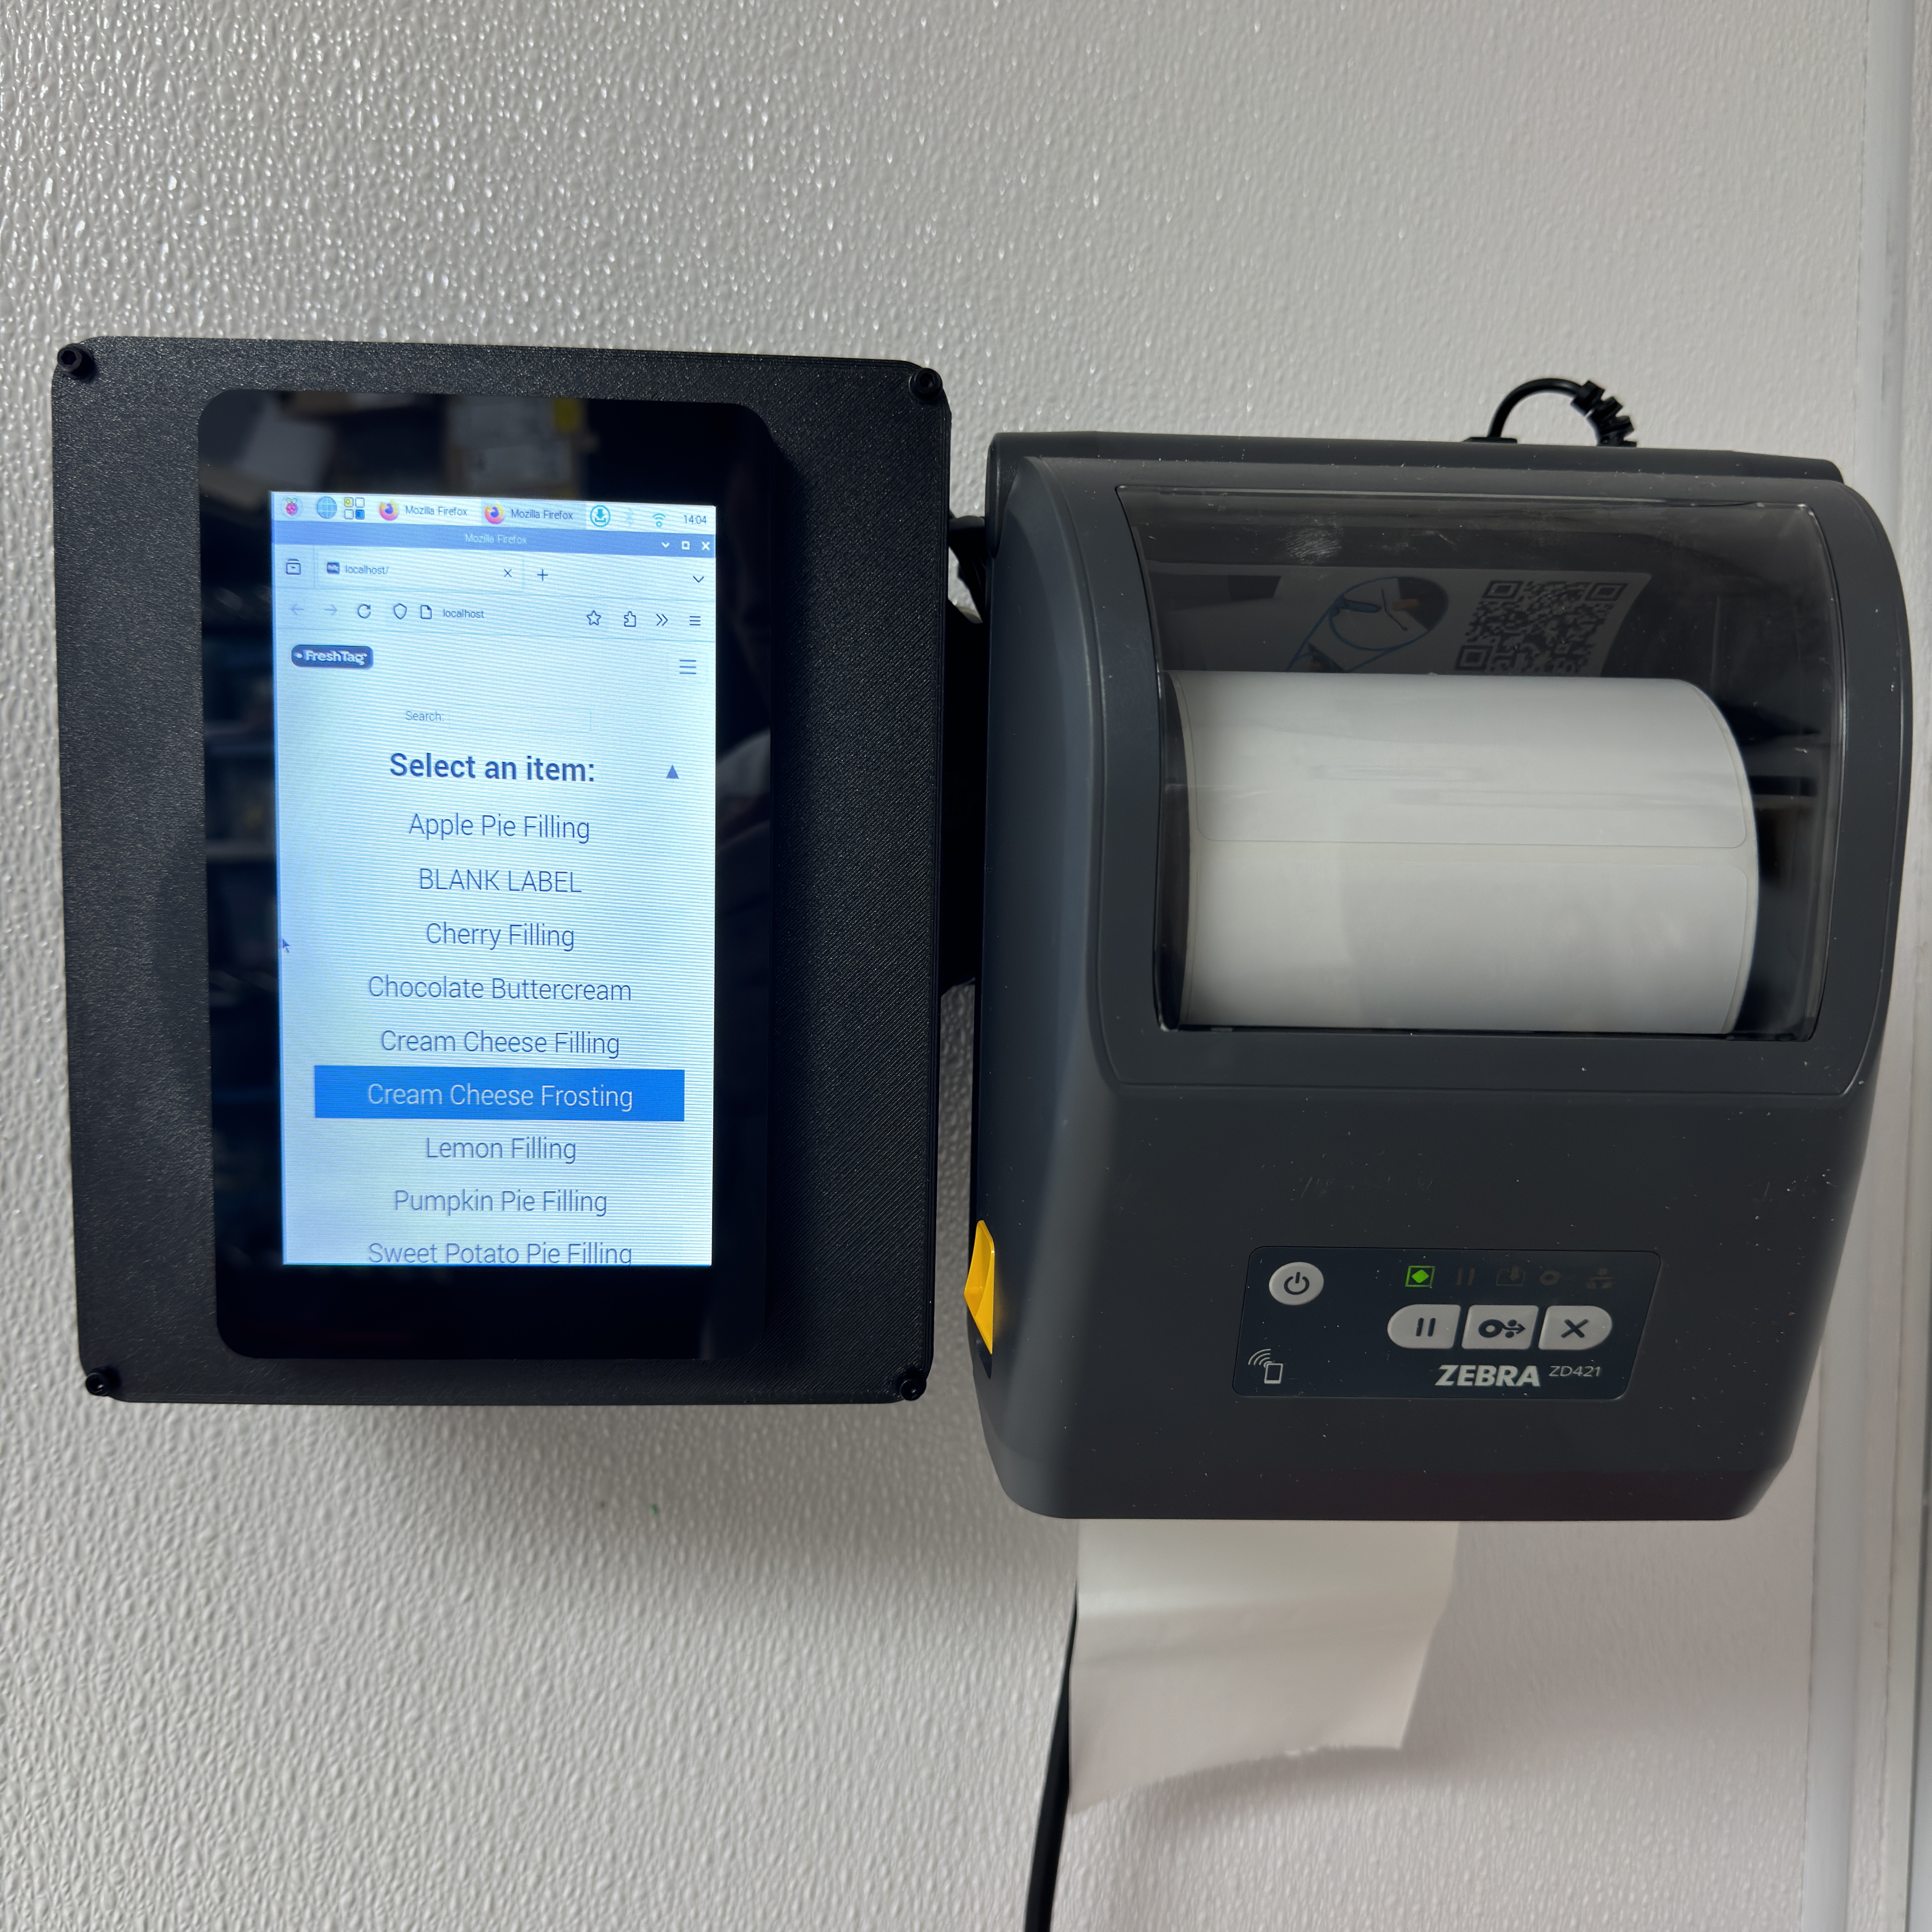
I spent about a day researching different label printers. I eventually settled on a Zebra ZD421 for two main reasons: 1. It can print 4x3 labels that can easily be read from a distance. 2. I’ve worked with Epson and Brother printers in the past, and I wanted to give the Zebra Programming Language (ZPL) a try to see how easy it is to use.
Prototyping
While waiting for the printer to arrive, I started working on the control software. I’ve worked on a handful of projects building web apps using NodeJS, so I had lots of old code to help get me started. This ended up being a very simple single-page application. The list of items is stored as a JSON object in a DigitalOcean Space that the app downloads periodically. Here’s an excerpt of the file:
[
  { "id": "e5101c48-df94-4774-8841-7e5e82f1559e", "name": "Vanilla Custard" },
  { "id": "b7c916cb-b8f8-4f0e-a38f-0bb2dc56e6b5", "name": "Apple Pie Filling" },
  { "id": "9fcdd80f-1c3e-4b68-9f56-5932ee07c6fb", "name": "Lemon Filling" },
  { "id": "a818c0f7-13fb-49af-a4a1-45d67c30f2b1", "name": "White Buttercream" }
]
The list of items is presented using a single-column DataTables. When an item is selected, a tooltip appears to confirm you want to print. I had a spare Raspberry Pi 5 lying around not doing anything, so it got put to use running this little app. I also ordered the official 7" Raspberry Pi touchscreen from the wonderful people at Adafruit. Once the printer arrived I could actually test the software and work out some formatting kinks.
So, I had a printer and a simple app that could print to it. Now I needed a way to bundle it all together. I knew I wanted to wall-mount the entire system using a standard VESA wall mount, so I had to design everything around that.
I needed to design two main parts:
- An enclosure to hold the Pi and touchscreen.
- A mounting adapter for the Zebra printer.
3D printing is a newer hobby of mine, and CAD is not my strong suit, so I struggled my way around Fusion 360 and eventually came up with this.
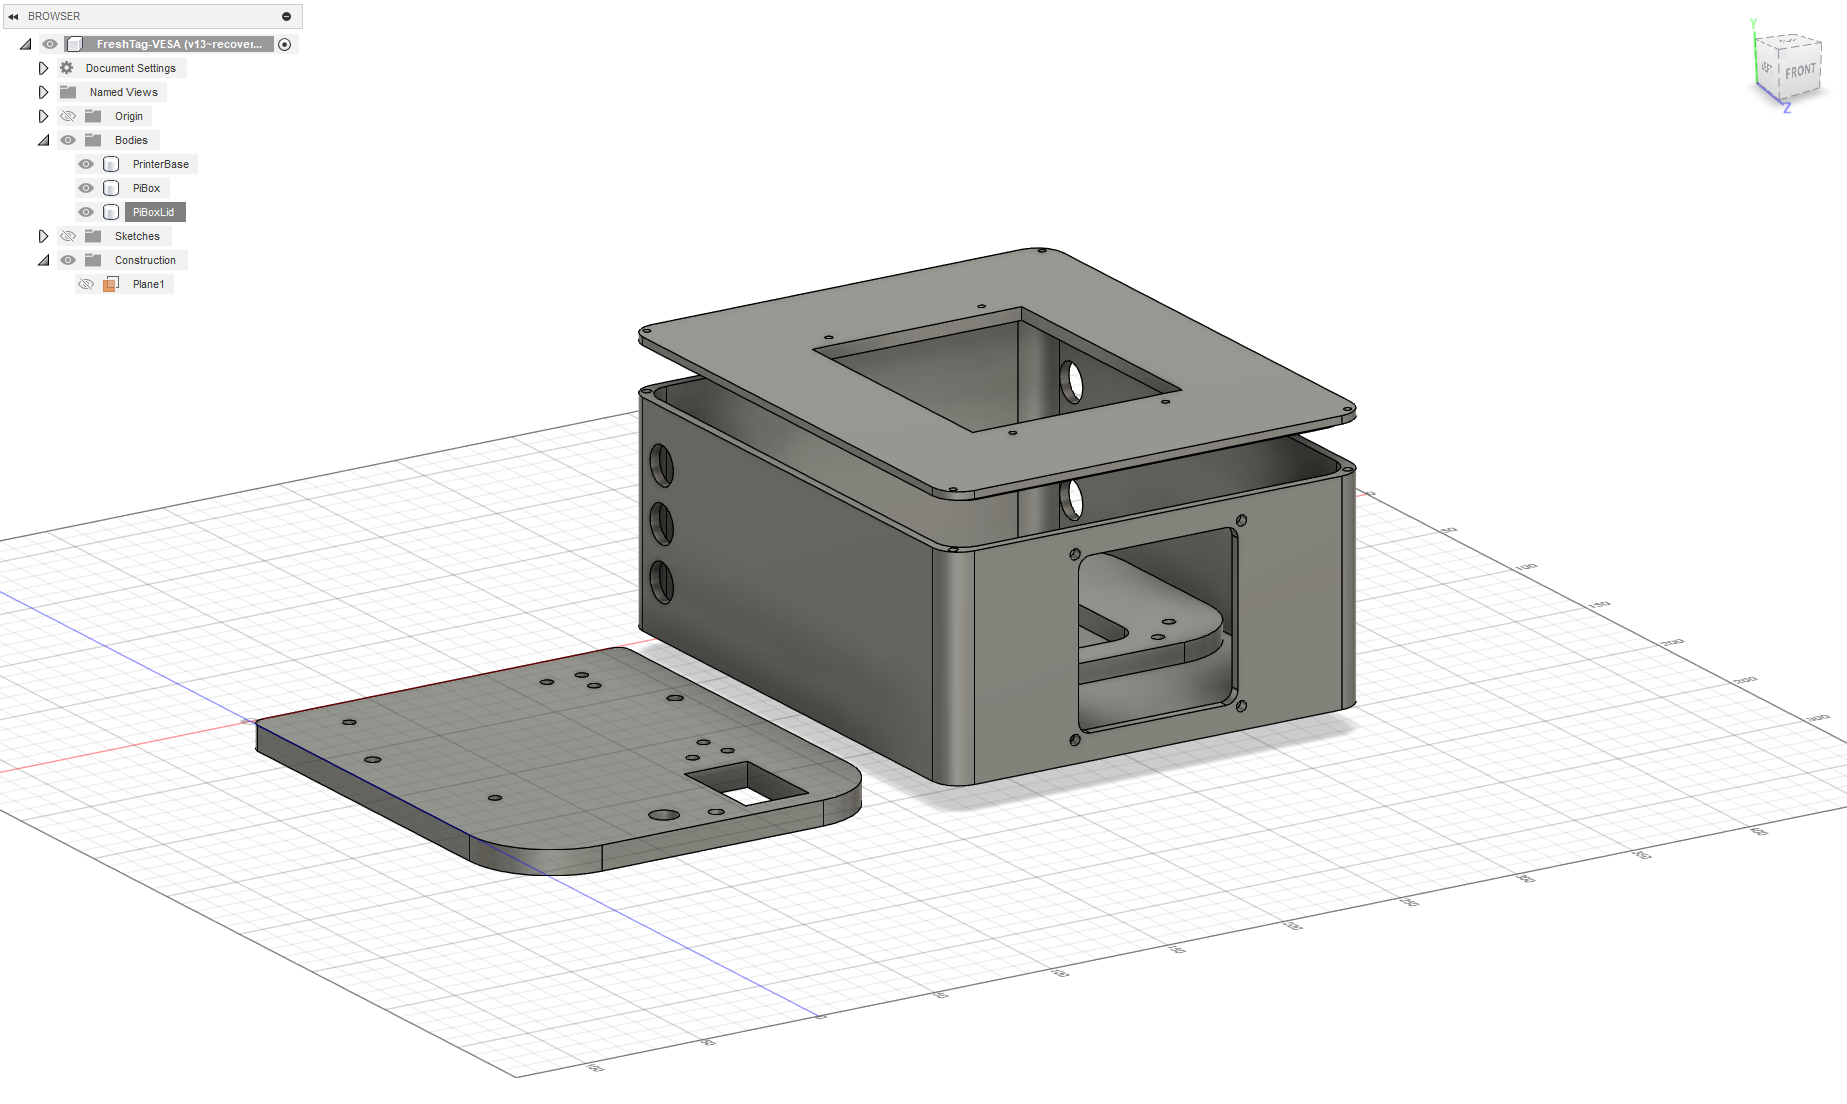
On the left side is the mounting adapter for the printer. There are holes for brass heat-set inserts so I can screw the adapter onto the VESA mount. There are also holes so that I can screw the plate into the back of the printer.
The box on the right has an 80mm fan hole on the bottom and ventilation holes on the sides. All the holes would be covered with mesh to filter out dust. On the back, there are holes that align with the VESA mount. The lid has an opening to accommodate a Raspberry Pi touchscreen mount I found on Thingiverse. The lid screws into the box with more brass heat-set inserts.
Assembly time…
The assembly was all done at the 11th hour. I wanted to spend a little more time on it, but I literally had to leave the next morning, so there wasn’t any more time to work with. The biggest problem was that the enclosure took ~12 hours to print using a 0.6mm nozzle on a Prusa MK4. Because I was out of time, I only had one chance to print, and of course, the box warped, which made it a little harder to work with.
Anyway… I crammed an 80mm fan and power supplies for the Pi and the printer into the box and worked some zip-tie magic. USB and power for the printer pass through one of the ventilation holes on the top right. I mounted the adapter plate to the printer and mounted everything onto the VESA mount. Did a quick shake test to make sure it didn’t fall apart, and then deemed it good enough for production use. :D
Results!